In Baldur's Gate 3, Act 2's Shadow-Cursed Lands hide plenty of misery, but one optional thread stands out because it begins with a whisper and ends with a lute. Art Callugh, a comatose Flaming Fist resting inside Last Light Inn, mutters about a boy named Thaniel, and that small clue sends the party toward the House of Healing and Malus Thorm. As of 2026, this quest remains one of Act 2's most memorable side stories, especially for players following Halsin and chasing a cure for the Shadow Curse. The route is long, the boss can hit like a runaway cart, and the quiet payoff is worth the trouble.
Starting the Art Callugh Thread at Last Light Inn
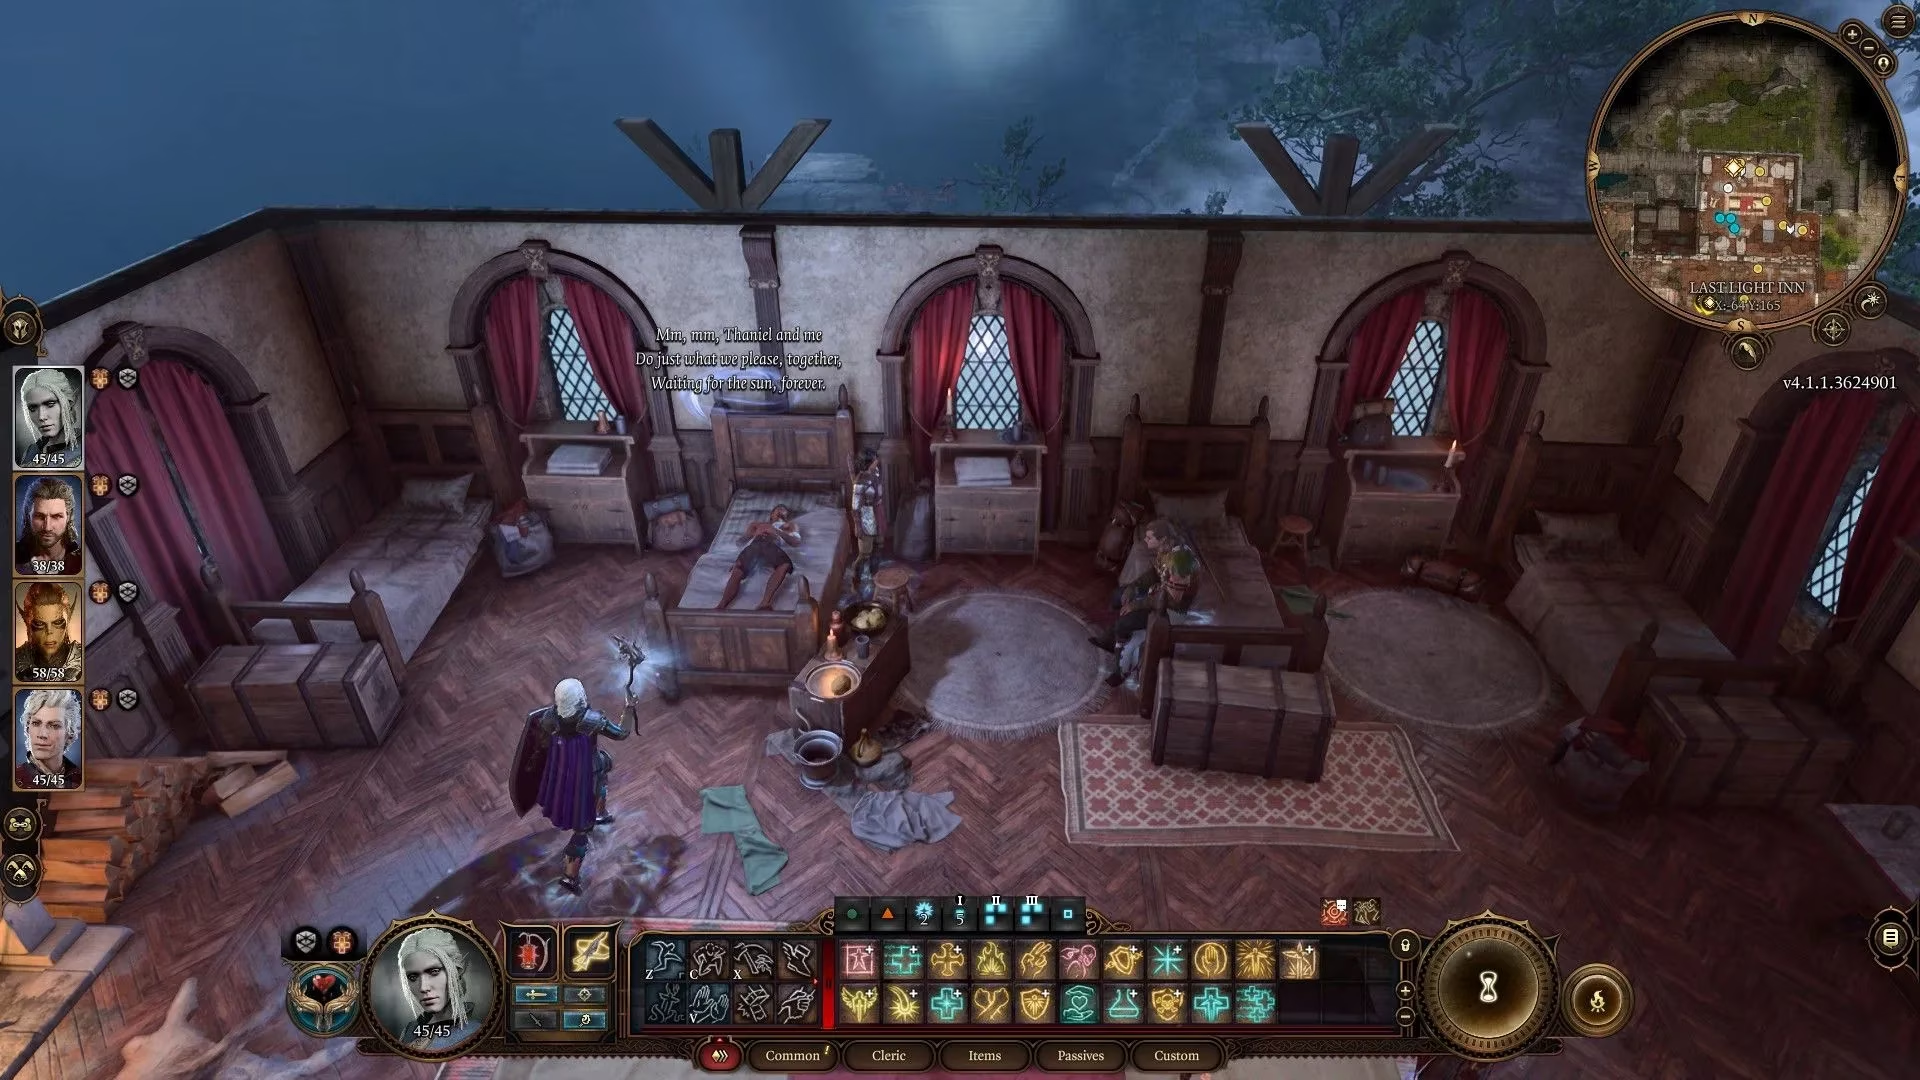
From the main entrance of Last Light Inn, the party should take the first door on the right. That room has a fireplace, a long table, and several beds. Art Callugh is the only patient in those beds, and speaking with him and the woman beside him reveals his muttering about Thaniel. A Medicine check and an Arcana check, both DC 15, let the party determine that Art needs something familiar to him. The reward is a letter that points toward the House of Healing.
Before setting out, it is smart to speak with Counsellor Florrick and advance her related questline. After that, the party should return to camp and speak with Halsin. Telling Halsin about a Flaming Fist muttering about a boy named Thaniel catches his interest, though the dialogue is sometimes triggered only after discussing Ketheric Thorm. Halsin then needs to be followed back to Last Light Inn, where he sits beside Art Callugh. A short conversation with Halsin sets up the return trip after the House of Healing.
The Long Road to the House of Healing
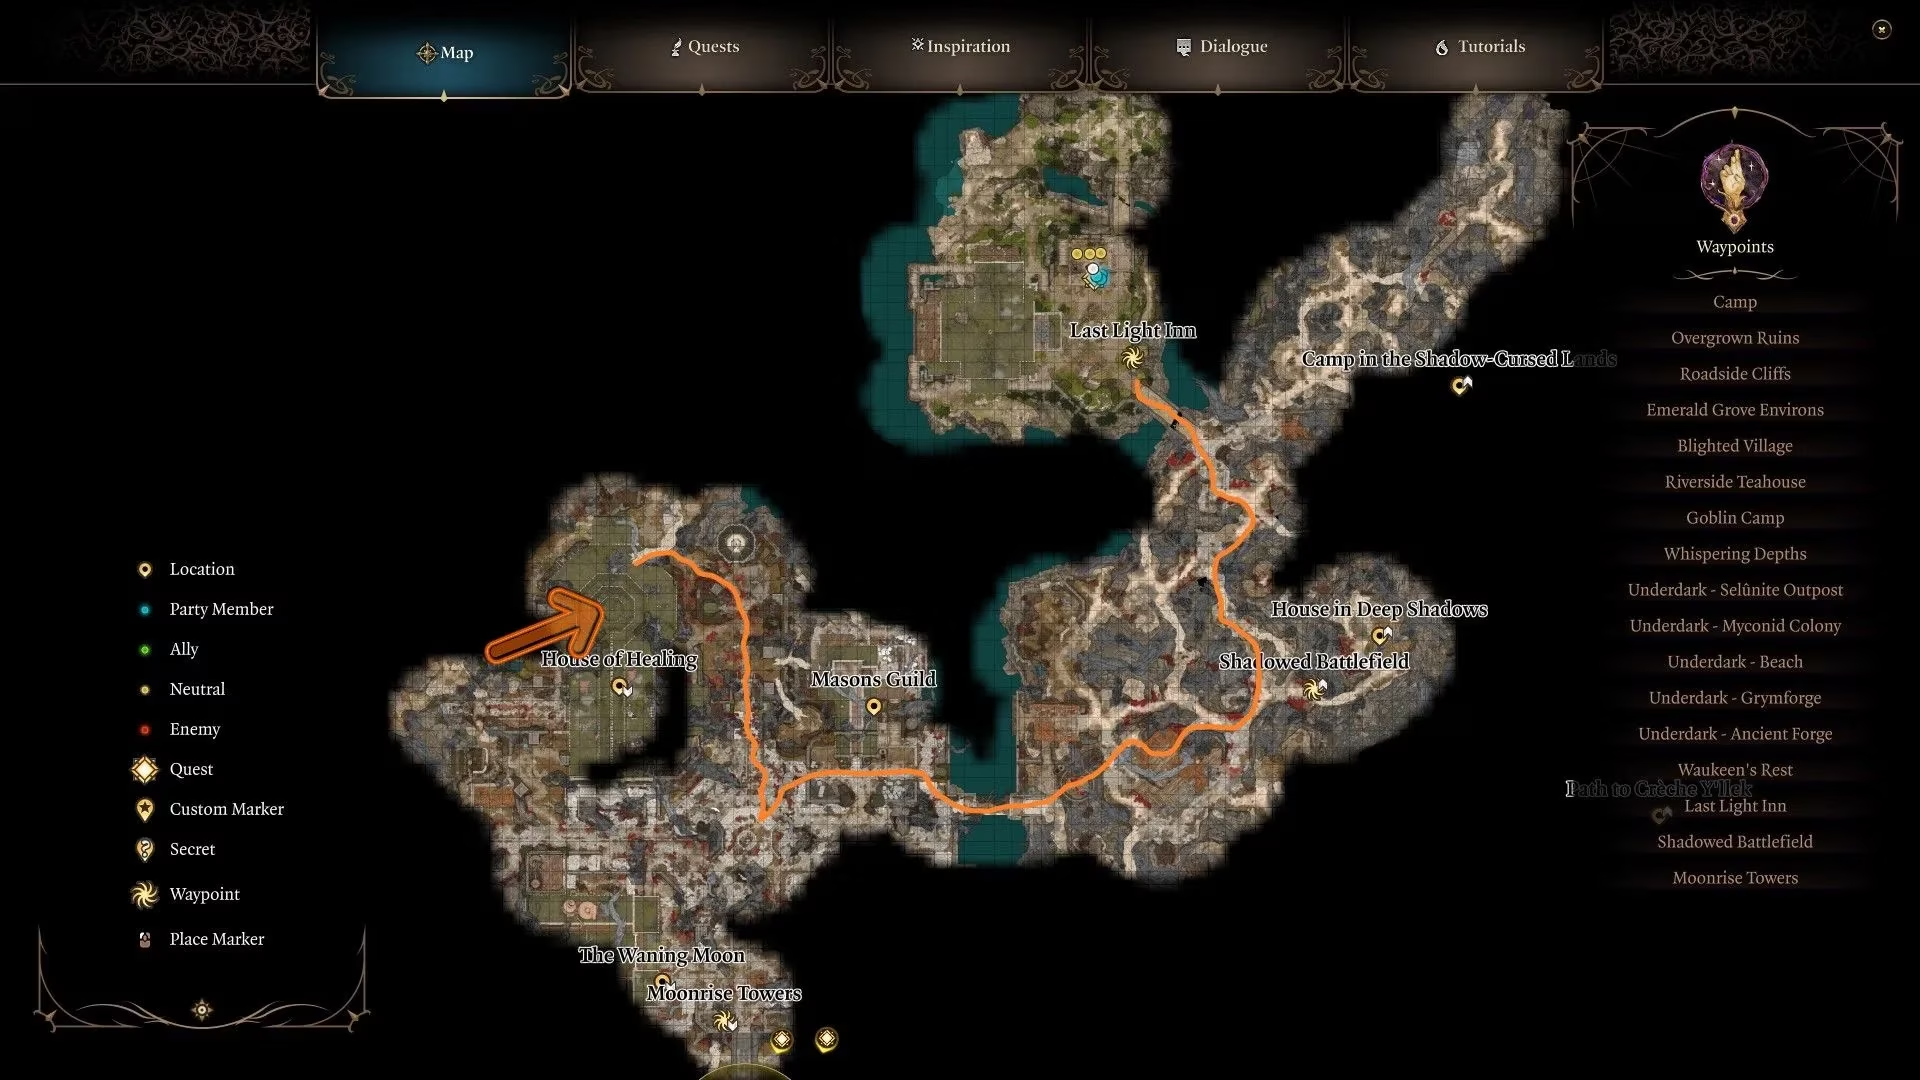
Getting to the House of Healing is not a quick stroll. The waterfront cuts off several direct roads, so the party has to loop around and fill out a large part of the Shadowlands map. A practical route starts from the area where the party had the ambush to get the Moonlantern. From there, travel northwest to reach the Reithwin Mason's Guild. Going through the guild area, past the Wooden Hatch and the elevator crane, leads to an area with heavy brush and a large iron gate. Arabella waits behind that gate, and the party can accept or deny her special request. Either way, the next step is to carry on past her into a large area with a stone mausoleum in the center.
The mausoleum is guarded by several Shadows and three Shadow-Cursed Harpers. The party needs the Moonlantern or a similar bright light, such as the pixie's blessing, to reveal the Shadows. Once those enemies are defeated, turn right and head north through the gates into a grove-like cemetery area. A rolled Passive Perception check reveals a skeleton with a special ring, which is a useful sign that the route is correct. Continue along the main cobbled path until reaching the side of a building and eventually a locked wooden door at roughly X: 189, Y: 73. Pick the lock or use a Scroll of Knock or its related spell. Inside, the House of Healing waits through the large wooden doors in the room and to the left.
Malus Thorm: Talk First, Scalpel Later
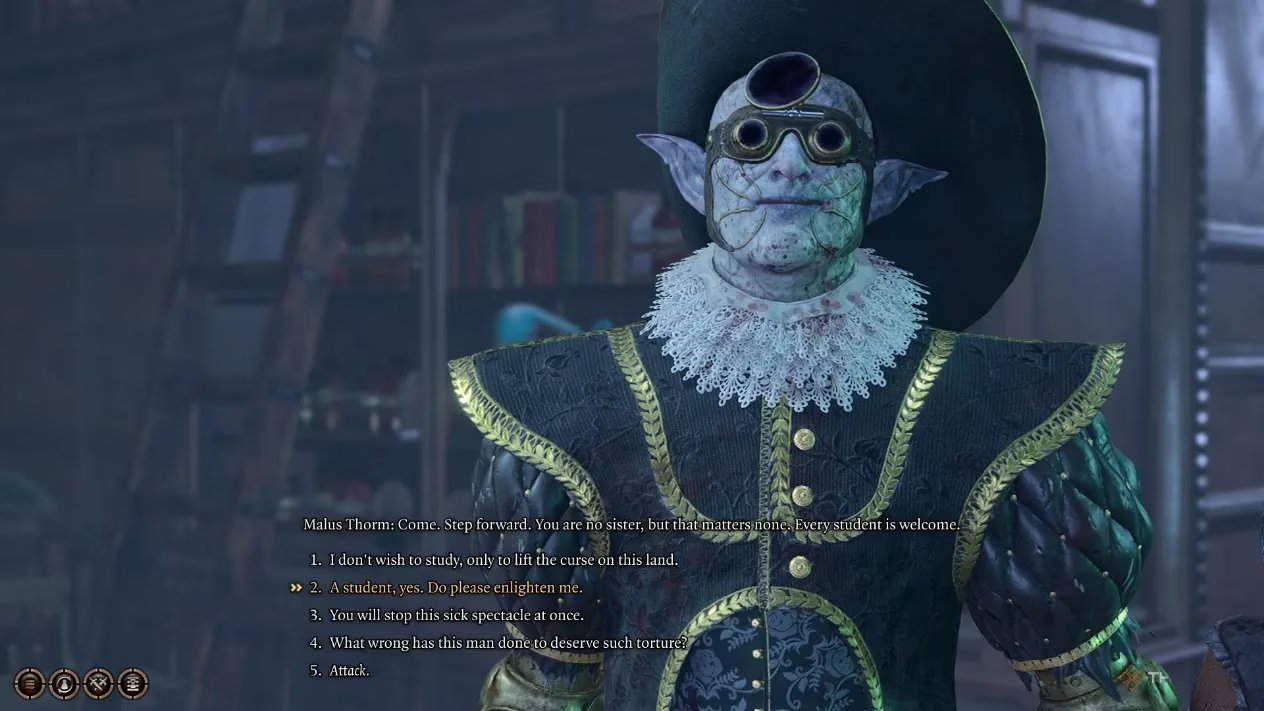
For players who dislike brutal combat or want to avoid one of Act 2's hardest encounters, Malus Thorm can be talked into his own downfall. The party should walk into the room and speak with him and his assistants. He lectures about Shar's doctrine, but the key is to turn that doctrine against him. An Investigation check at DC 14, a Religion check at DC 14, or a Persuasion check at DC 16 can move the conversation in the right direction. After that, a DC 18 Persuasion check, or a similar answer, suggests that the assistants need a better subject to practice on first. Not a student, but a master.
Malus understands the implication, and one of his own assistants uses him for a lesson. The result is his death, no fight with the remaining assistants, and free access to the lute. This route is efficient and darkly funny, though it skips one of the coolest battles in the game. In 2026, it remains a strong option for Honour Mode players who prefer risk management over spectacle.
Fighting Malus Thorm: The Sisters Are the Real Boss
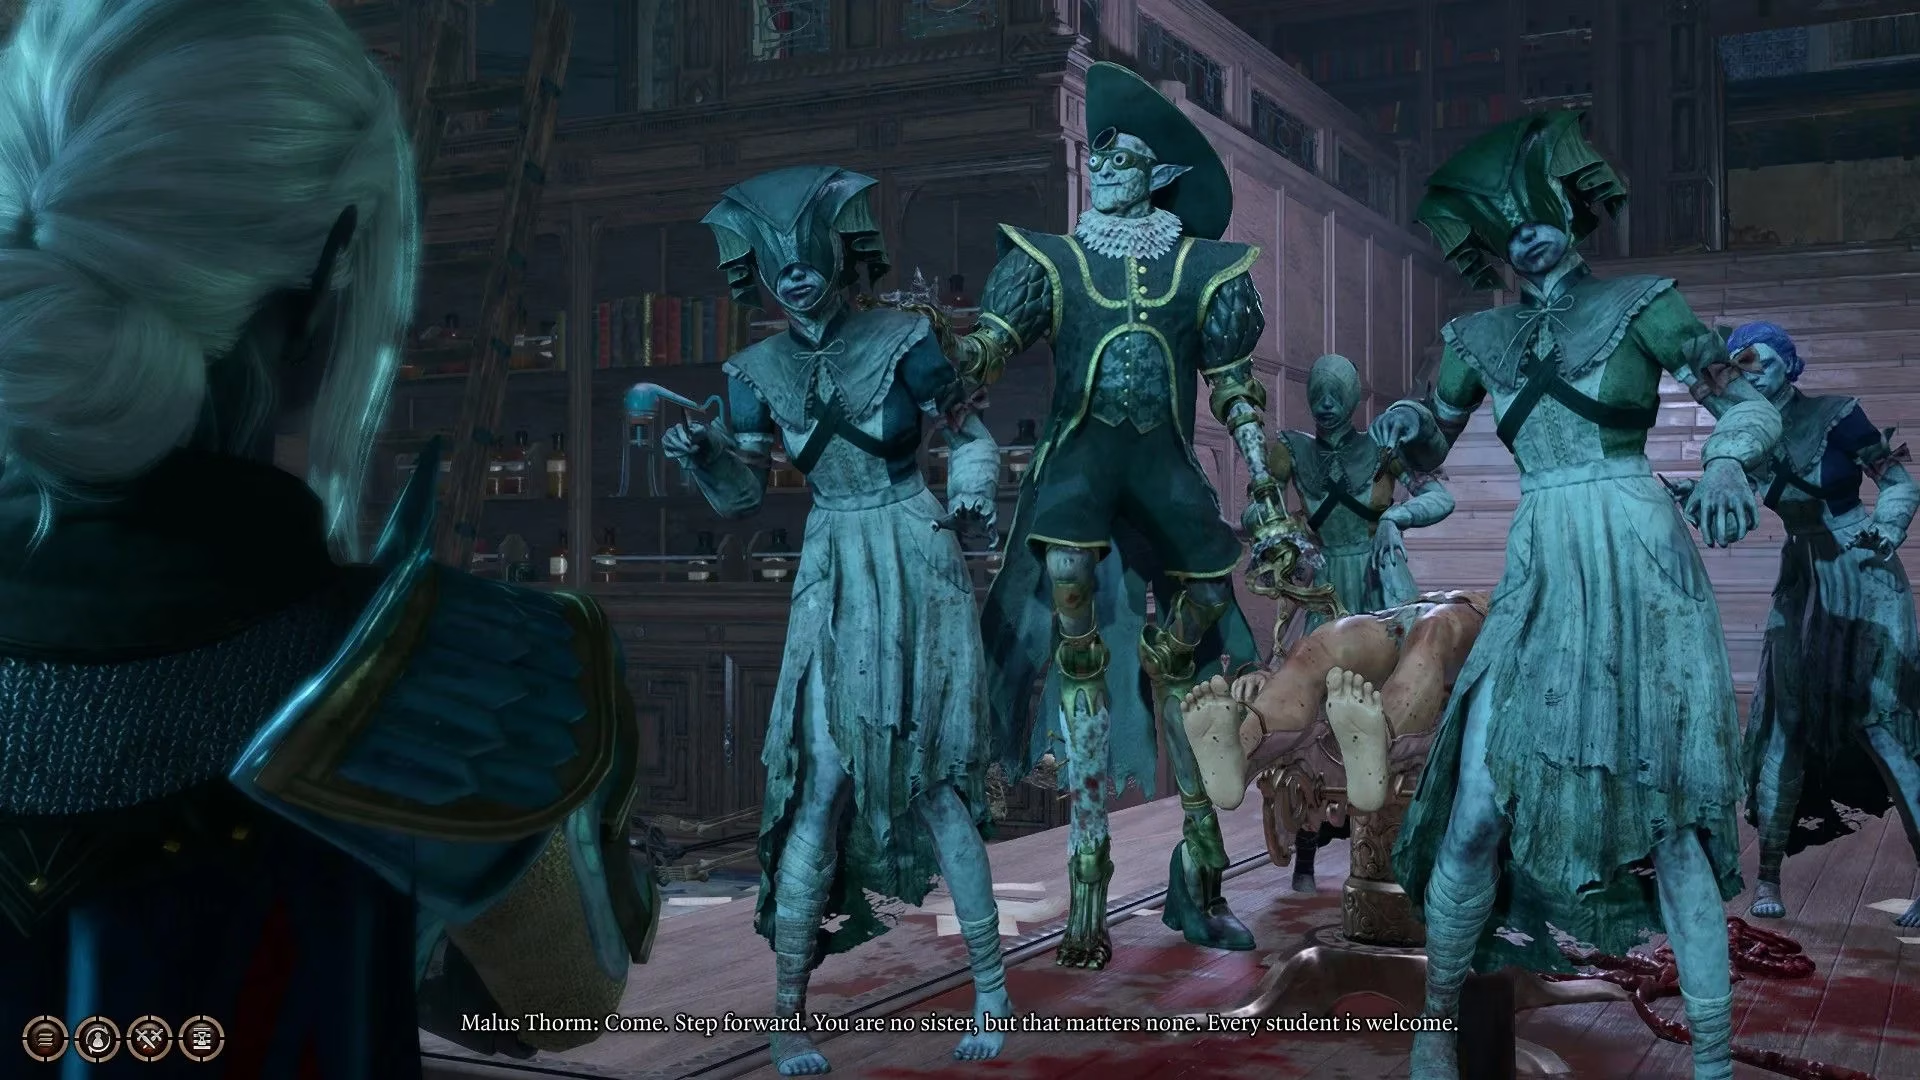
For a party that follows the main story path, Malus Thorm can be the most difficult boss faced so far. His danger comes from raw damage and possible effects in a single turn. An unlucky round can produce as much as 85 damage from one attack, which can one-shot a party member. The real trick is not Malus himself but his assistants. Each assistant carries a special weapon, and once per turn Malus calls one forward to hand it over. If an assistant reaches him, he equips the weapon and becomes far more dangerous. The party must stop the assistants before they arrive.
That is easier said than done. The assistants have around 48 HP, resist Poison and Fire, start a walkable distance behind Malus, and can use Mind Screech for heavy Psychic damage and a chance to paralyze. If the party kept the Moonlantern, one character must always hold it, and every party member must stay inside its area of effect. Because of these constraints, the first assistant will often reach Malus. The party should focus on the later calls instead.
The assistant order is fixed, which makes planning much easier:
| Order | Assistant | Weapon |
|---|---|---|
| 1 | Sister Hunna | Bonesaw |
| 2 | Sister Geanne | Artificial Leech |
| 3 | Sister Anya | Syringe |
| 4 | Sister Vanessa | Trepan |
If one assistant is not killed, Malus calls for the next one instead, and the order loops when he reaches the end. The first two targets should be Anya and Vanessa, because the Trepan is the most dangerous weapon of the four. Area attacks such as Ice Storm, Sleet Storm, Spike Growth, Call Lightning, and Moonbeam help control the sisters and punish their movement. The party should not focus Malus until the four sisters are handled. Their paralysis effects and their ability to buff Malus make them far more frightening than the man himself.
Once the sisters are down, the party can turn on Malus. He is still tanky, so keeping everyone at full HP matters. Being even a point below full HP lets Malus make a second claw attack against his target. The healer should stay busy while the damage dealers grind him down. Malus can also revive his assistants in order at roughly 12 HP, depending on difficulty. These revived assistants should be removed quickly. An Assassin Rogue can often delete them with Assassinate in a single strike.
Eventually, Malus falls. The party can loot his dangerous weapons, his unique amulet, and the important Battered Lute. The surgical patient is another matter. Killing Malus before he performs surgery grants an achievement, but there is no known way to save the patient. The party can walk away and leave him to die, or end his suffering before leaving.
Honour Mode Adjustments
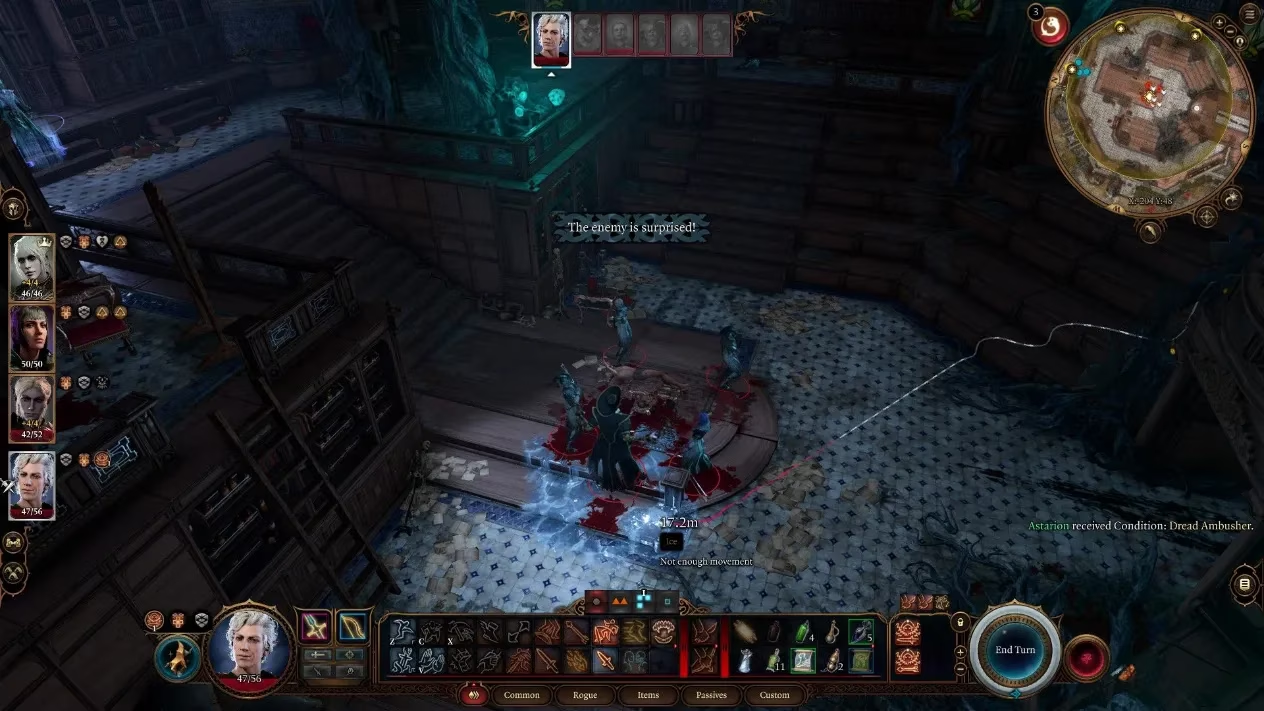
Honour Mode Malus Thorm demands careful spatial planning. Wailing Loss can completely undo a melee-heavy strategy if too many party members stand near the assistants, and keeping distance is risky because of Grasping Appendage. Summonable creatures, spell summons, and revived dead should be placed in melee with the sisters instead. Spellcasters should remain at the top of the stairs for high ground, with one tank at a chokehold to stop Malus from reaching them. That tank ideally has the Sentinel feat. Players should give up on the surgical patient if the achievement is already earned. Acid attacks reduce enemy AC and improve overall damage, while an ice floor exploits the sisters' poor Dexterity and causes slips, lost turns, and the Prone condition. Because Wailing Loss punishes damage attacks, layering field hazards and status conditions before making damaging attacks is the safer pattern.
Returning to Art Callugh and the Shadow Curse Cure
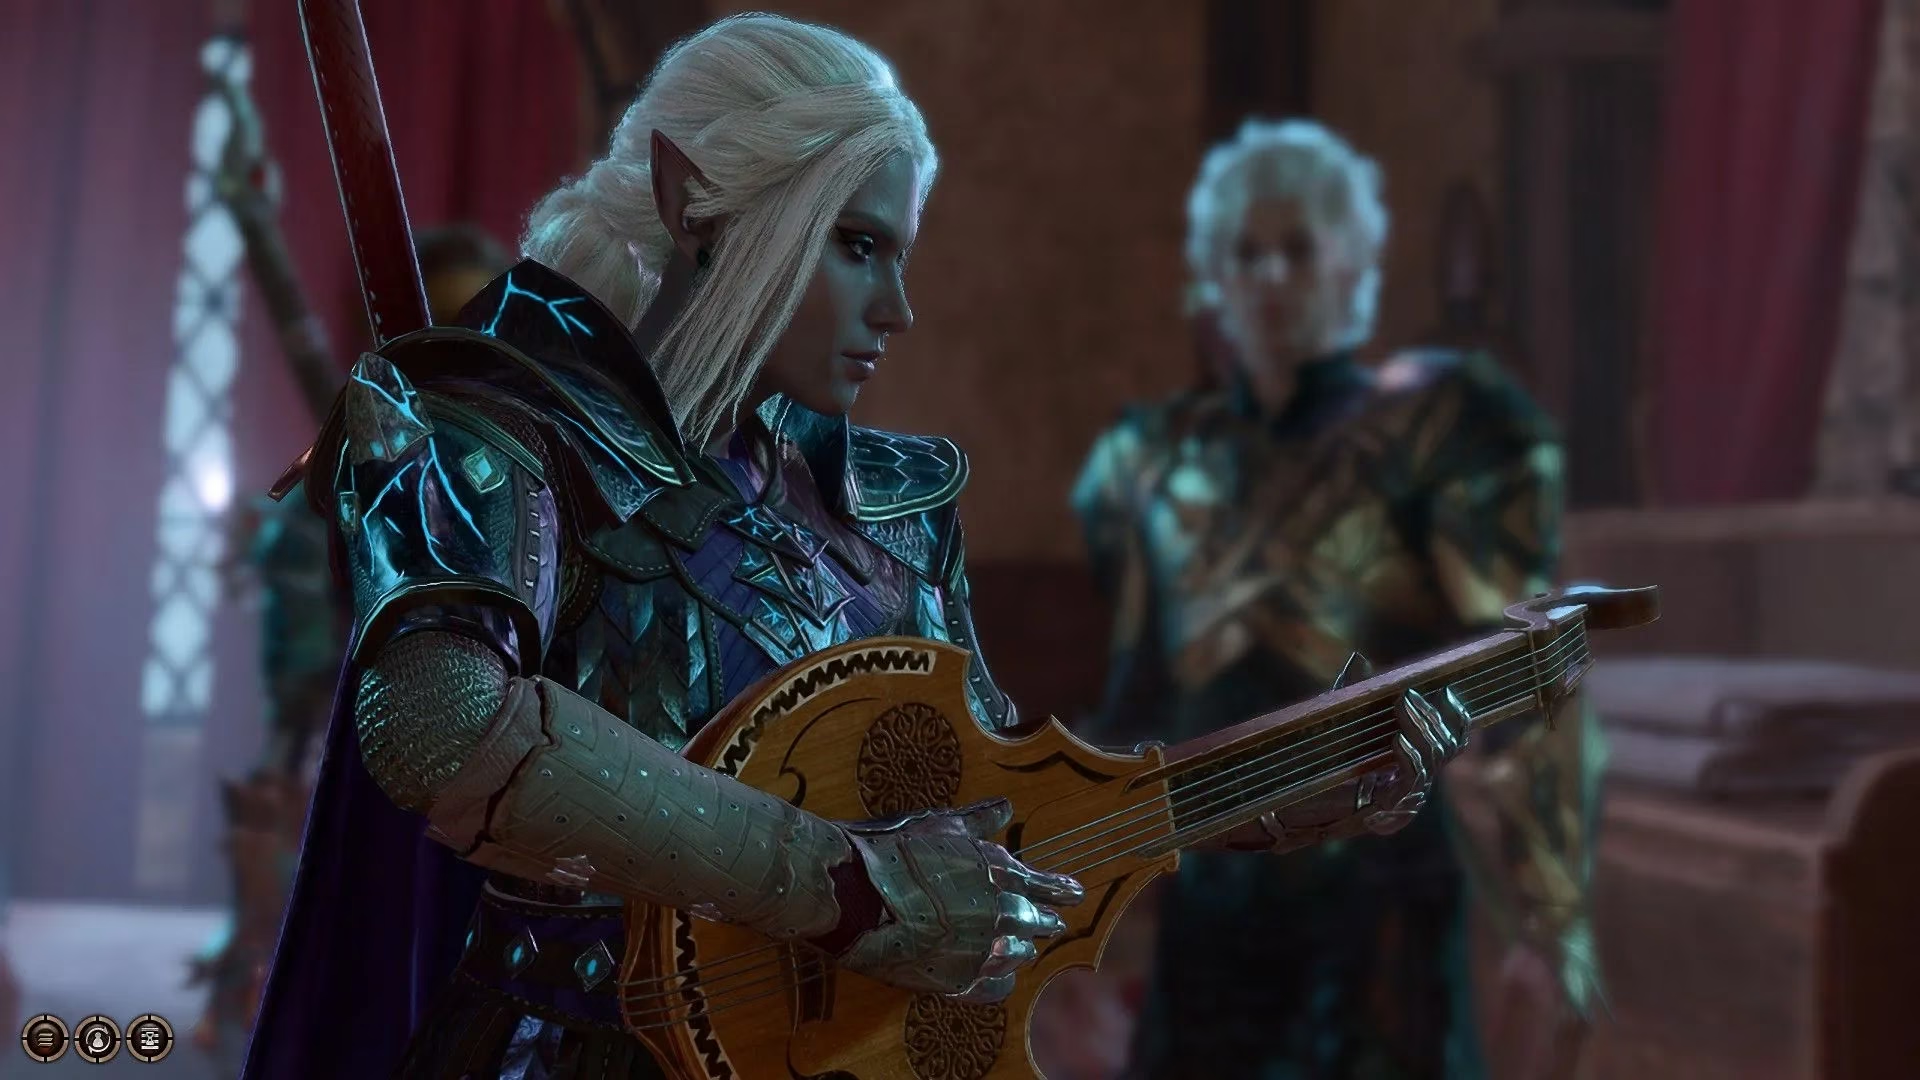
With the Battered Lute in hand, the party returns to Art Callugh at Last Light Inn and speaks with him and Halsin. The game prompts the party to play the lute, and doing so finally wakes Art. The party can choose to speak with him and learn more about his dreams, or let Halsin handle the conversation. Either way, the next Halsin quest begins. That quest leads to another dangerous defense, a game of hide-and-seek, a new playable companion, and most importantly a cure for the Shadow Curse. With this quest finished and another close behind, the party can follow Halsin out the door and toward the beach to continue the adventure.
Comments